
Removing backgrounds used to take a lot of careful selection work in Adobe Photoshop. With the new AI-powered features in Adobe Photoshop, the process is faster and more accurate than ever. Whether you’re preparing a product photo, a social media post, or just want to isolate a subject, you can achieve a clean cutout in just a few clicks.
In this tutorial, I’ll walk you through the steps.
Step 1: Open Your Image in Photoshop
Launch Adobe Photoshop.
Go to File > Open and select the image you want to edit.

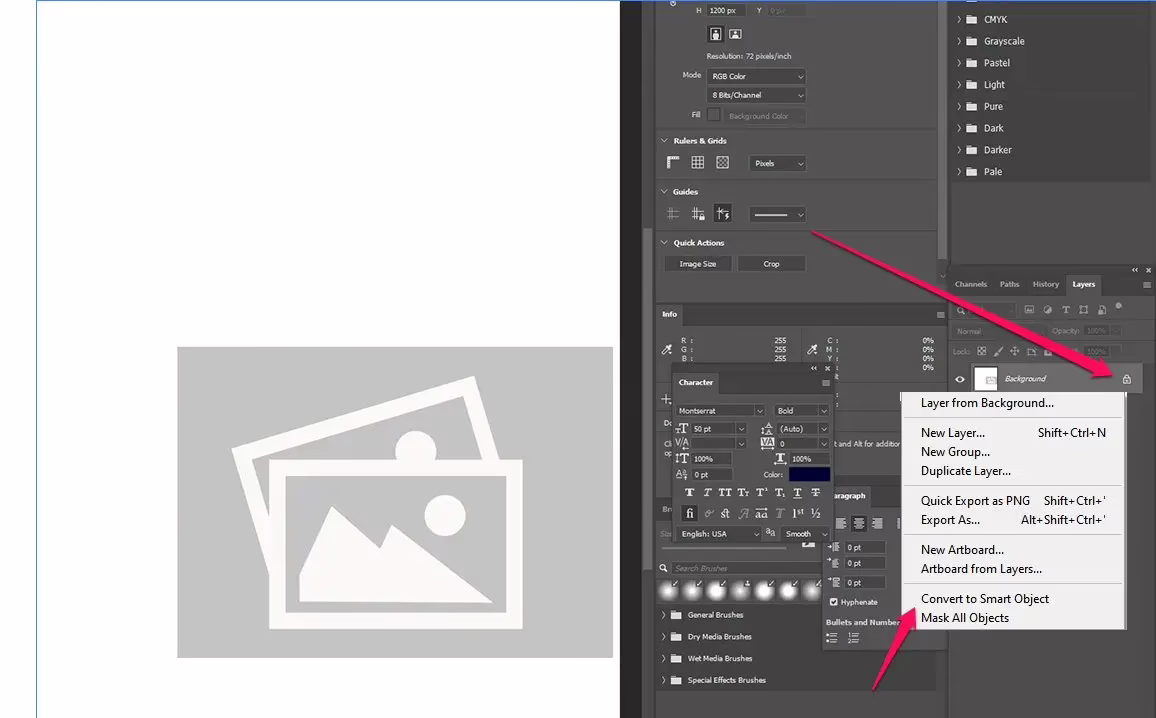
Step 2: Unlock the Background Layer
In the Layers panel, your image might appear as “Background” with a lock icon.
Click the lock icon or right-click and choose Convert to Smart Object.
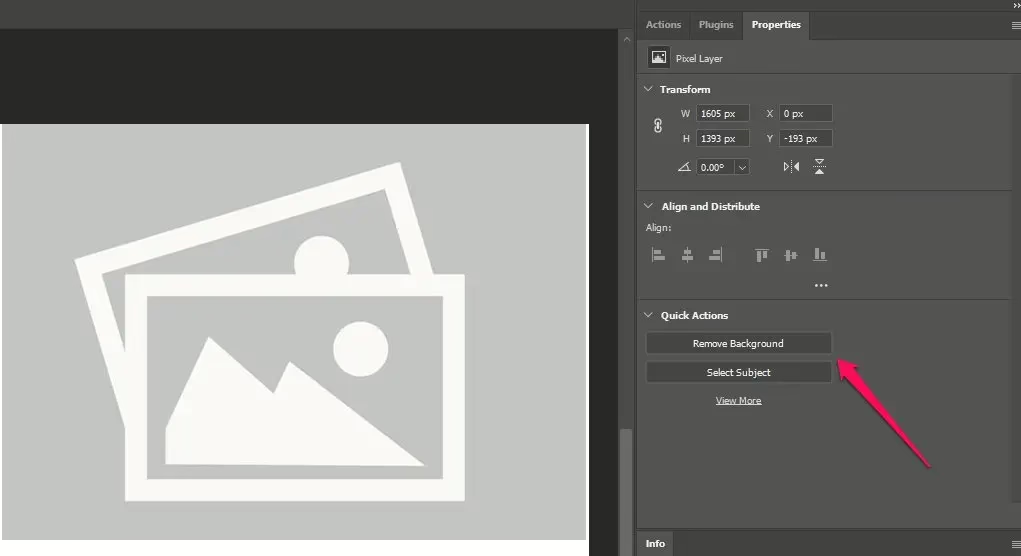
Step 3: Use the “Remove Background” AI Button
- Select the Properties panel (Window > Properties if you don’t see it).
- With your image layer selected, scroll down to the Quick Actions section.
- Click Remove Background.
- Photoshop will instantly use Adobe Sensei AI to detect the subject and remove the background.
Refine the Edges (Optional)
Depending on the complexity of your image, you may have to do some clean up on the edges.
- Go to the Select > Select and Mask… menu.
- Use tools like Refine Edge Brush Tool to clean up hair, fur, or tricky details.
- Adjust Feather and Contrast sliders for a natural cutout.
Add a New Background (Optional)
- To replace the background, create a new layer under your subject.
- Fill it with a color, gradient, or drag in a new photo.
From the Blog:

Inside the Creative Process: From First Meeting to Final Brand Identity
This process combines communication, creativity, and refinement at every stage. By working closely with clients,…

How to Find a Skilled WordPress Developer to ensure that your website has Long-Term Success
This article will break down all of the things you should do to find the…

Using Sprout Invoices for WordPress can be a game changer for freelancers and small businesses
I didn’t become a freelancer to spend my days chasing invoices and calculating payment schedules….

Do we even need a website these days or can my business exist on social media alone?
In today’s digital age, it’s tempting to think that having a strong social media presence…

Hiring a Freelance Website Designer vs. DIY: What’s Right for Your Business?
When it comes to building a website for your business, side hustle, or personal brand,…

Does a Website Need to Be Written for Search Engines to Have the Best SEO Possible?
If you’re looking to create a website that dominates search engine rankings, then yes, writing…
Leave a Reply